Simply Recipes / Mark Beahm
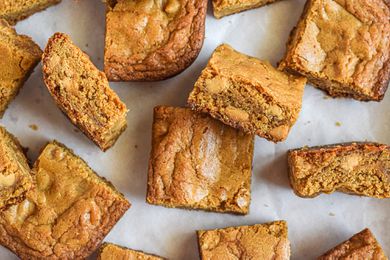
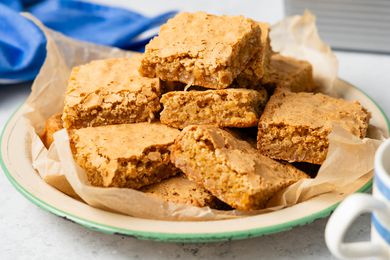
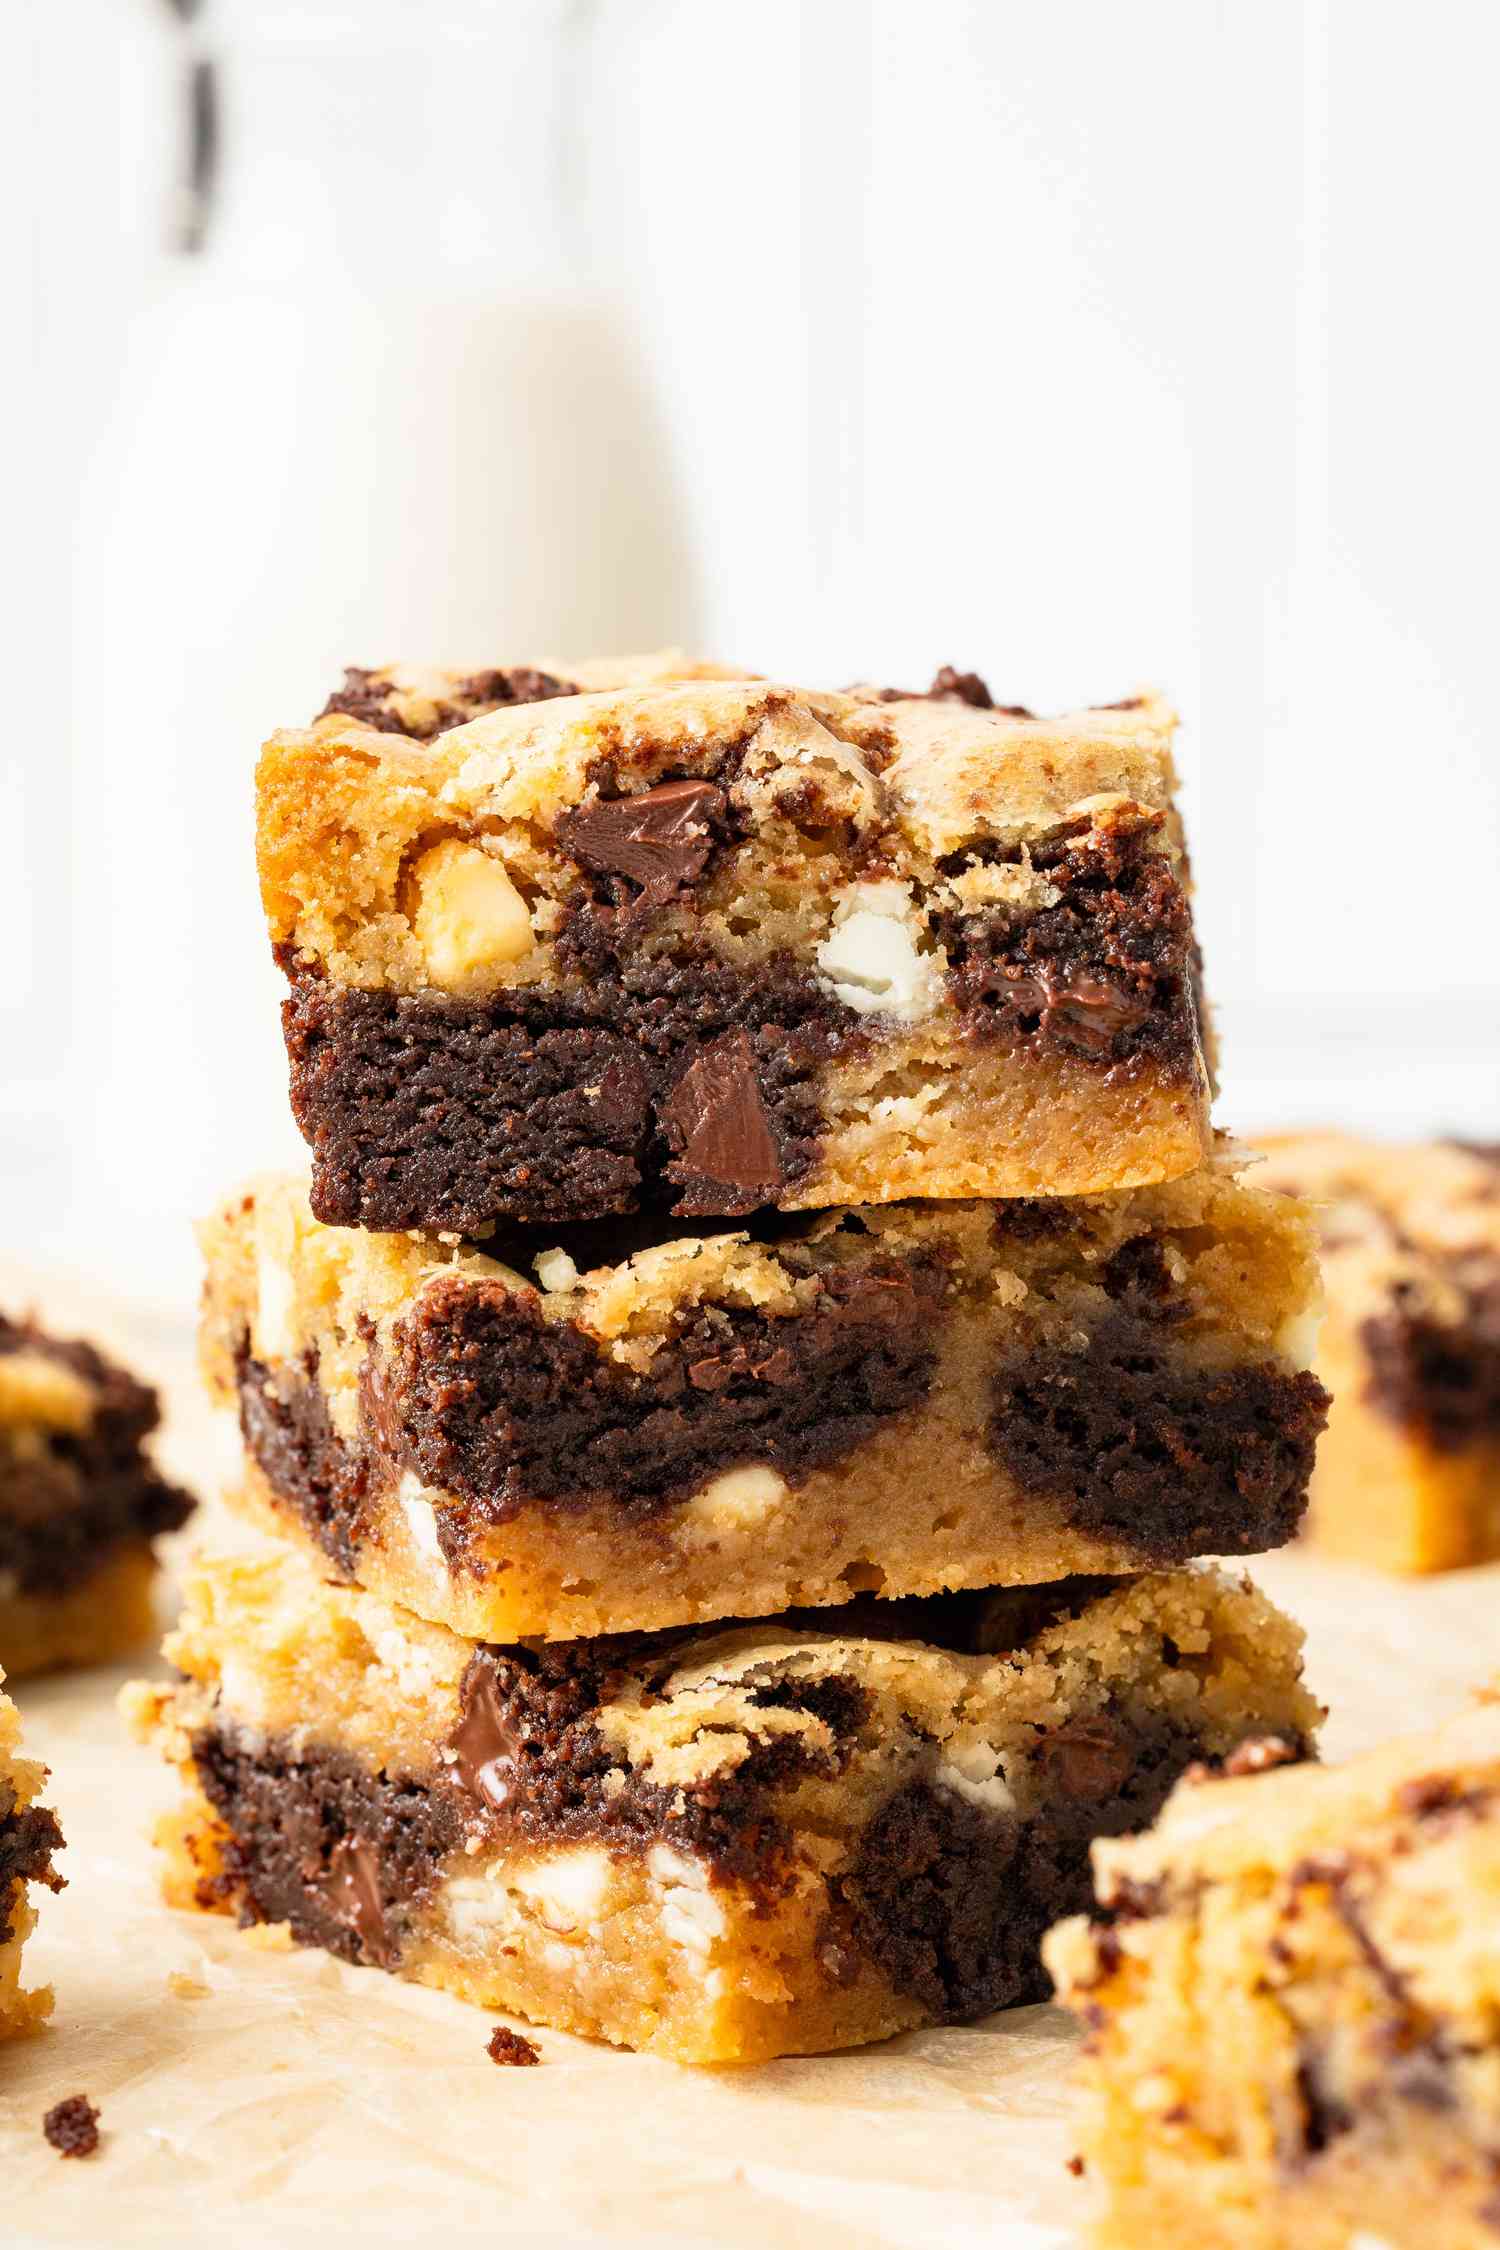
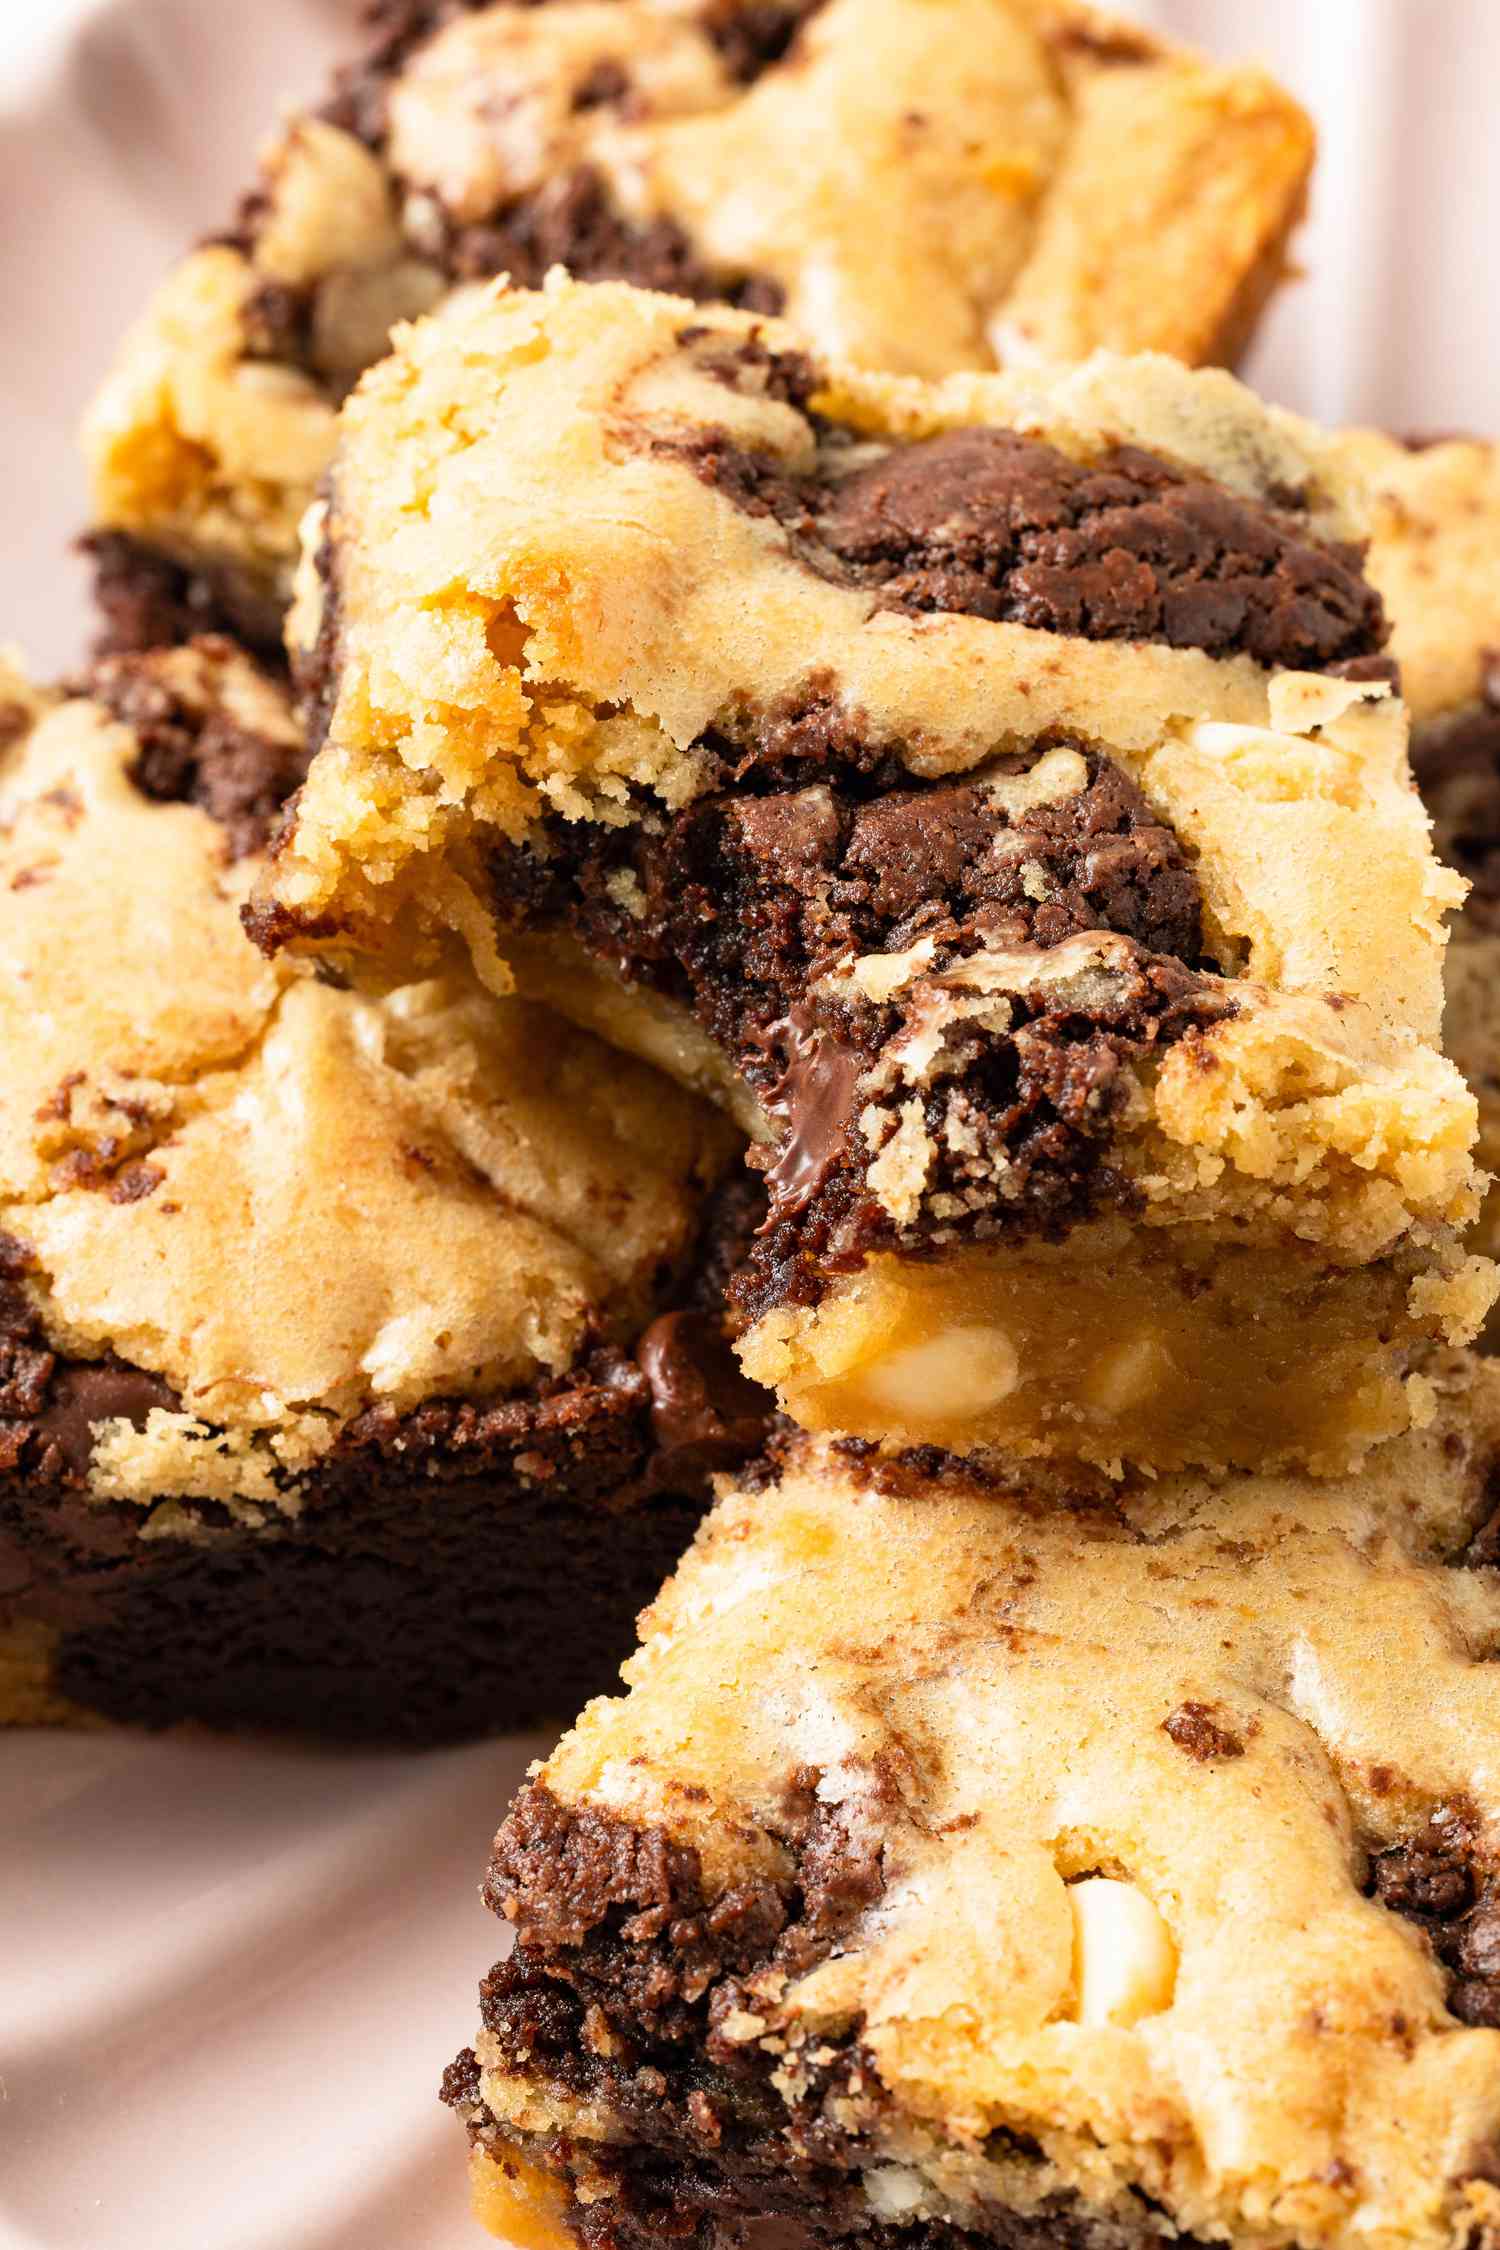
As someone who grew up in the Hannah Montana era, I’d be remiss to not make the joke that these blondies are truly “the best of both worlds.” This recipe uses one simple batter to yield a vanilla blondie and a chocolatey, brownie-esque batter that are layered and swirled to create mesmerizing, decadent marbled blondies. If you can’t decide between blondies and brownies, then this recipe is the answer.
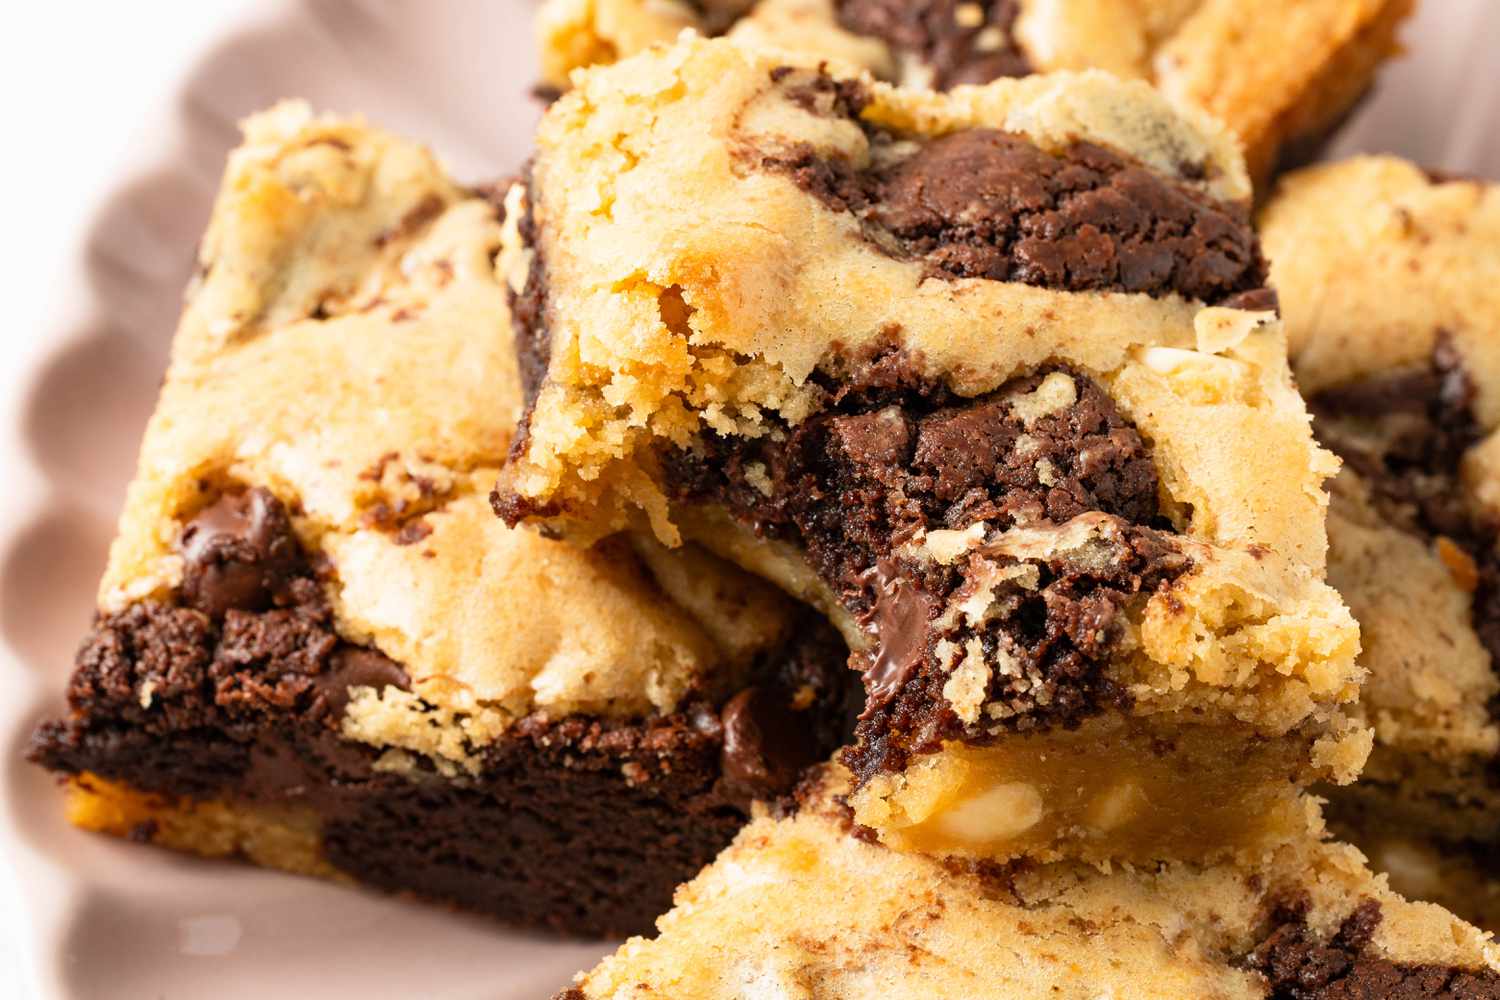
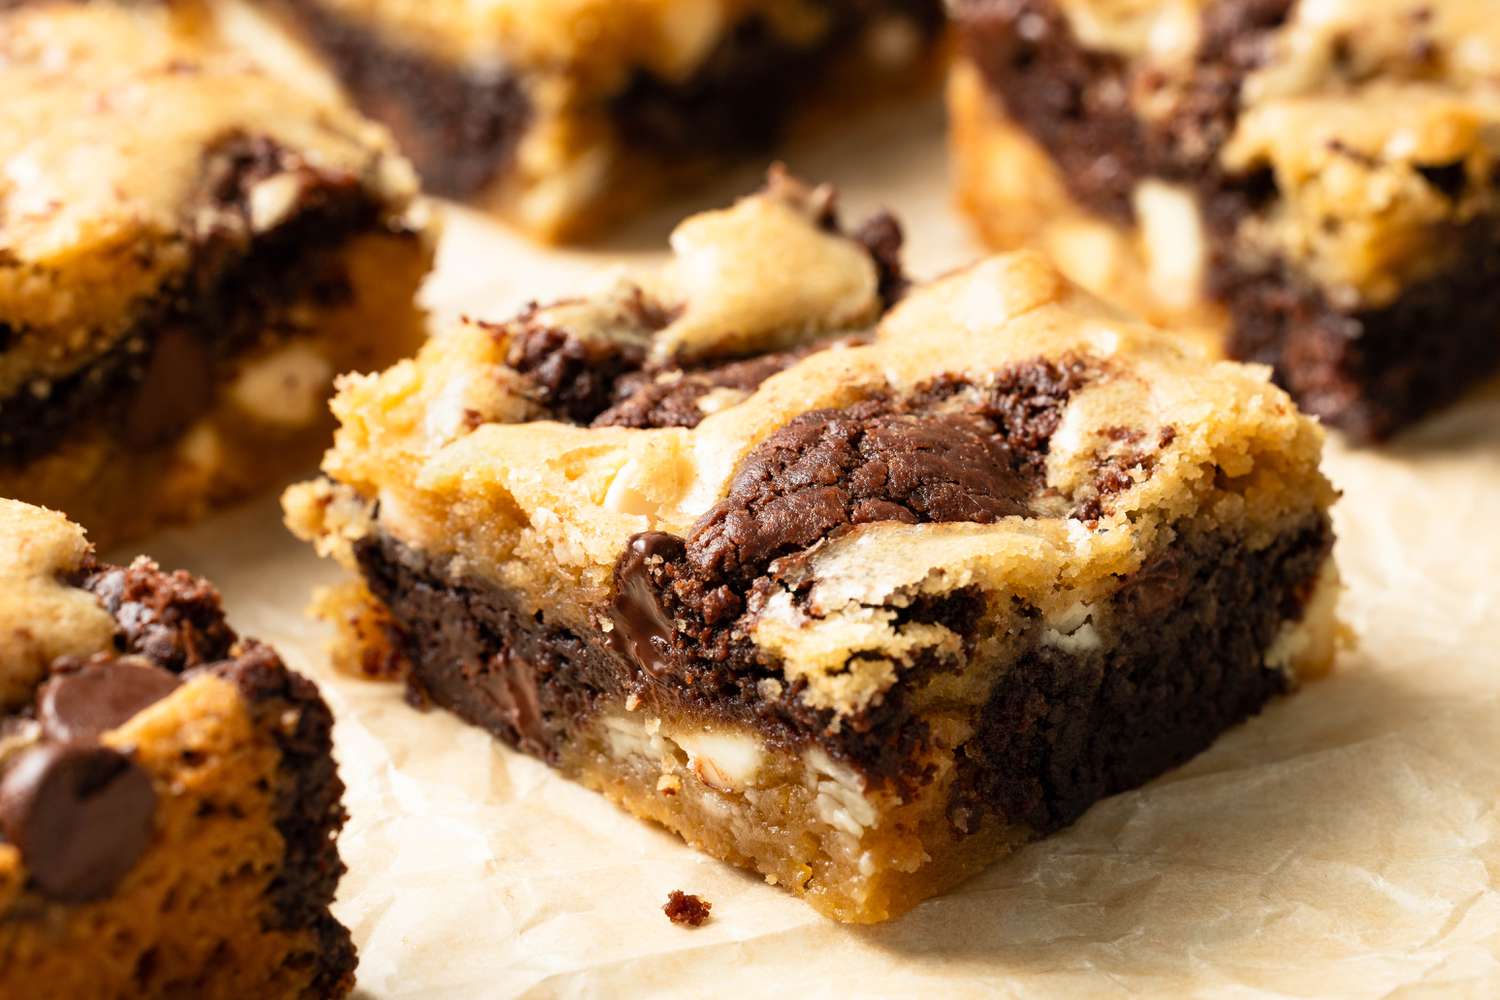
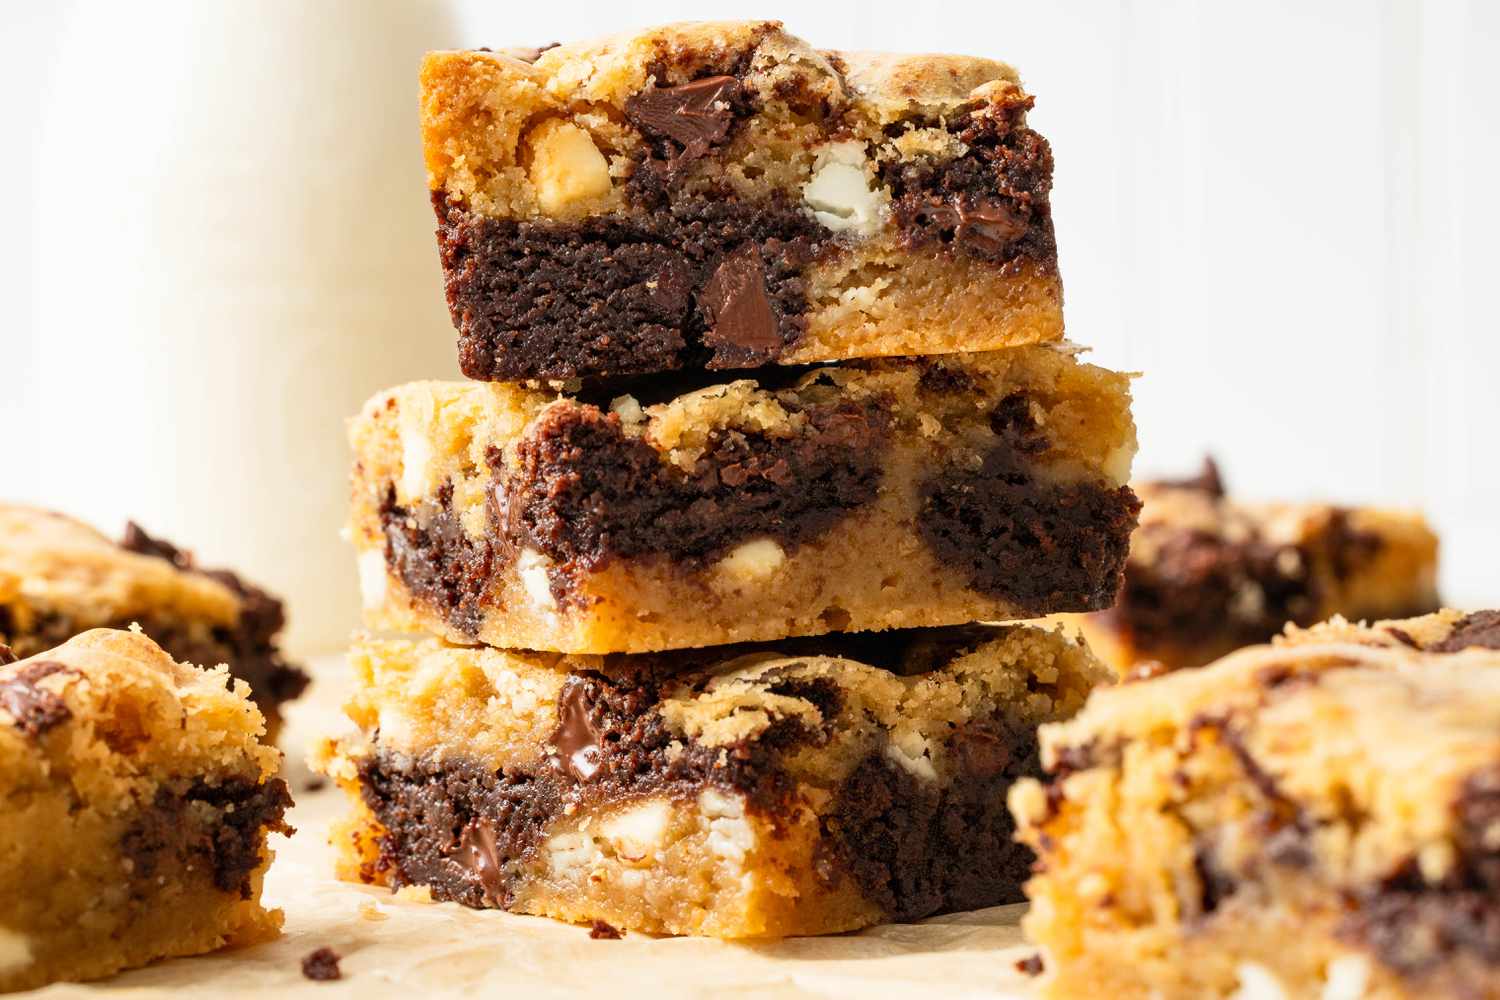
White chocolate chips stud the caramel-y, vanilla blondie batter and semi-sweet chocolate chips stud the rich brownie batter, making for a stark, stunning contrast when baked and sliced. Both chewy around the edges and soft and fudgy in the center, these marble blondies have a little something for everyone.
Simply Recipes / Mark Beahm
Blondies vs. Brownies
Blondies and brownies use many of the same ingredients, but their batters are very different. Blondie batters tend to use all brown sugar which provides moisture, a deep caramel flavor, and a fudgy center. Since this batter doubles as blondie and brownie, I use a combination of light brown sugar and a little granulated sugar to balance the flavor of the chocolate batter and help create a bit of that crinkly paper-thin top of a good brownie.
To transform the blondie batter into chocolate, I add Dutch-process cocoa and melted chocolate plus an extra egg yolk and espresso powder. The extra egg yolk helps provide more fat to balance out the dry cocoa. Dutch-process cocoa provides deep color and rich flavor while the melted chocolate yields a fudgy texture. When baked together, the batters meld and yield a treat that’s truly marvelous.
Best of Both Worlds
As an incredibly indecisive person, I almost always get twist ice cream when ordering soft serve. Consider these the “twist” of blondies. A not-too-sweet, vanilla blondie swirls with a decadent chocolate brownie to create a treat that’s the best of both worlds.
With this recipe, you get a little of everything in each bite—caramel notes from the brown sugar, a sweet vanilla flavor, chocolatey decadence, creaminess from the melted chocolate, chewy edges, a fine and delicate crust, and a soft, fudgy center. The eye-catching marbled appearance will have people thinking you spent hours creating those playful swirls.
Simply Recipes / Mark Beahm
Tips for the Perfect Marble Effect
Swirling the batters can feel daunting, especially in a recipe like this where the batters are thicker than a cake batter. Here’s everything you need to know to create the most stunning marbled effect.
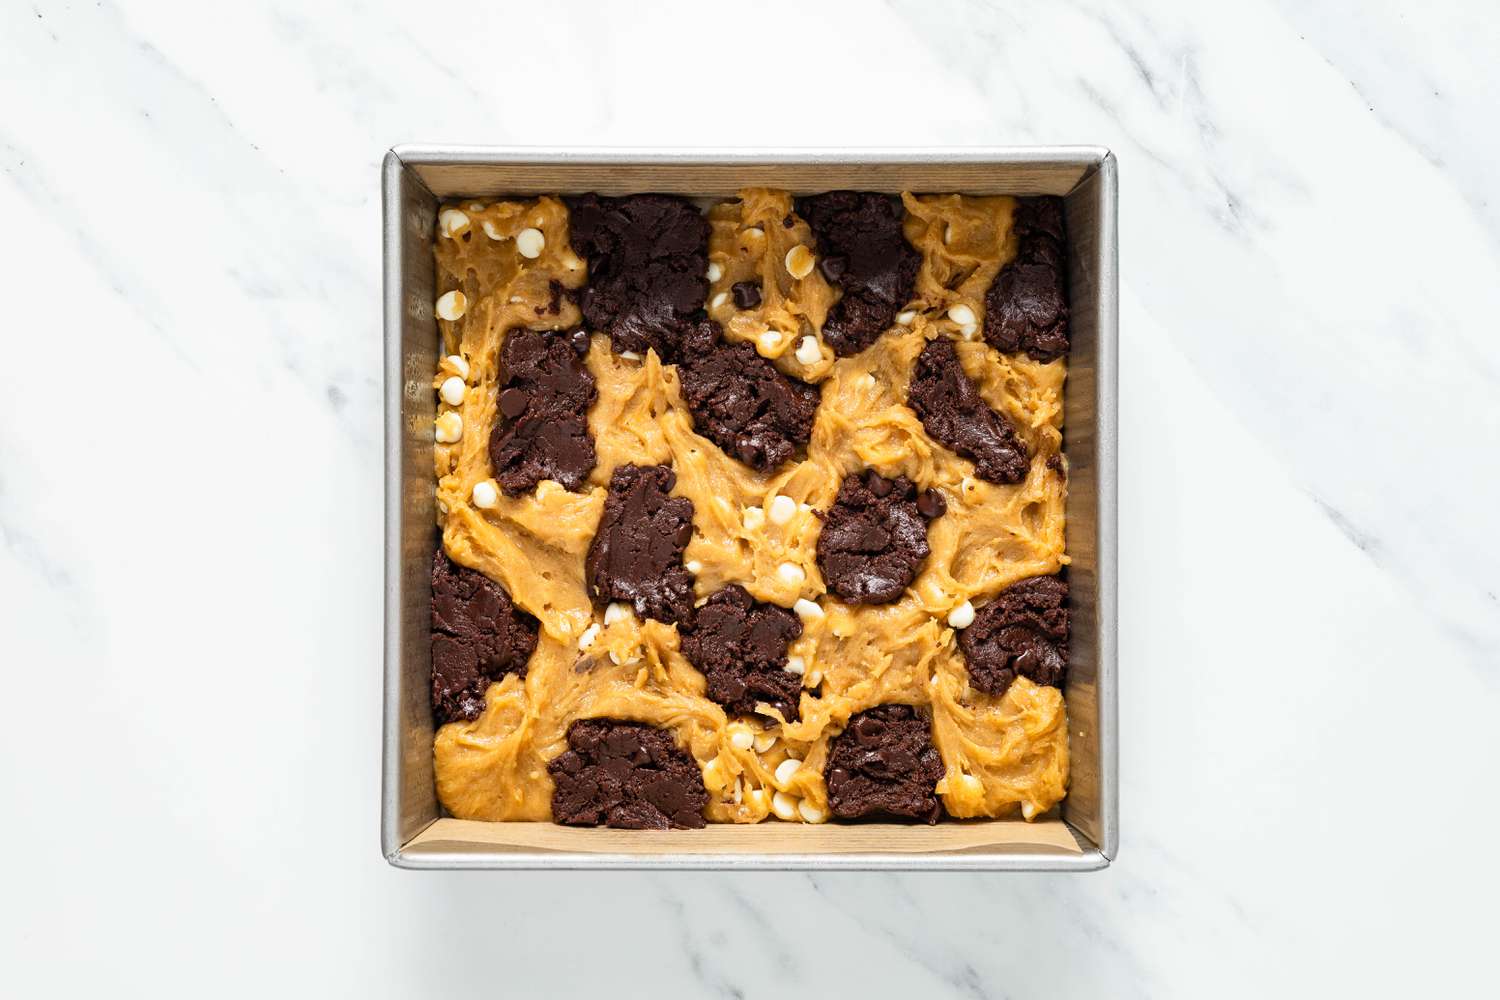
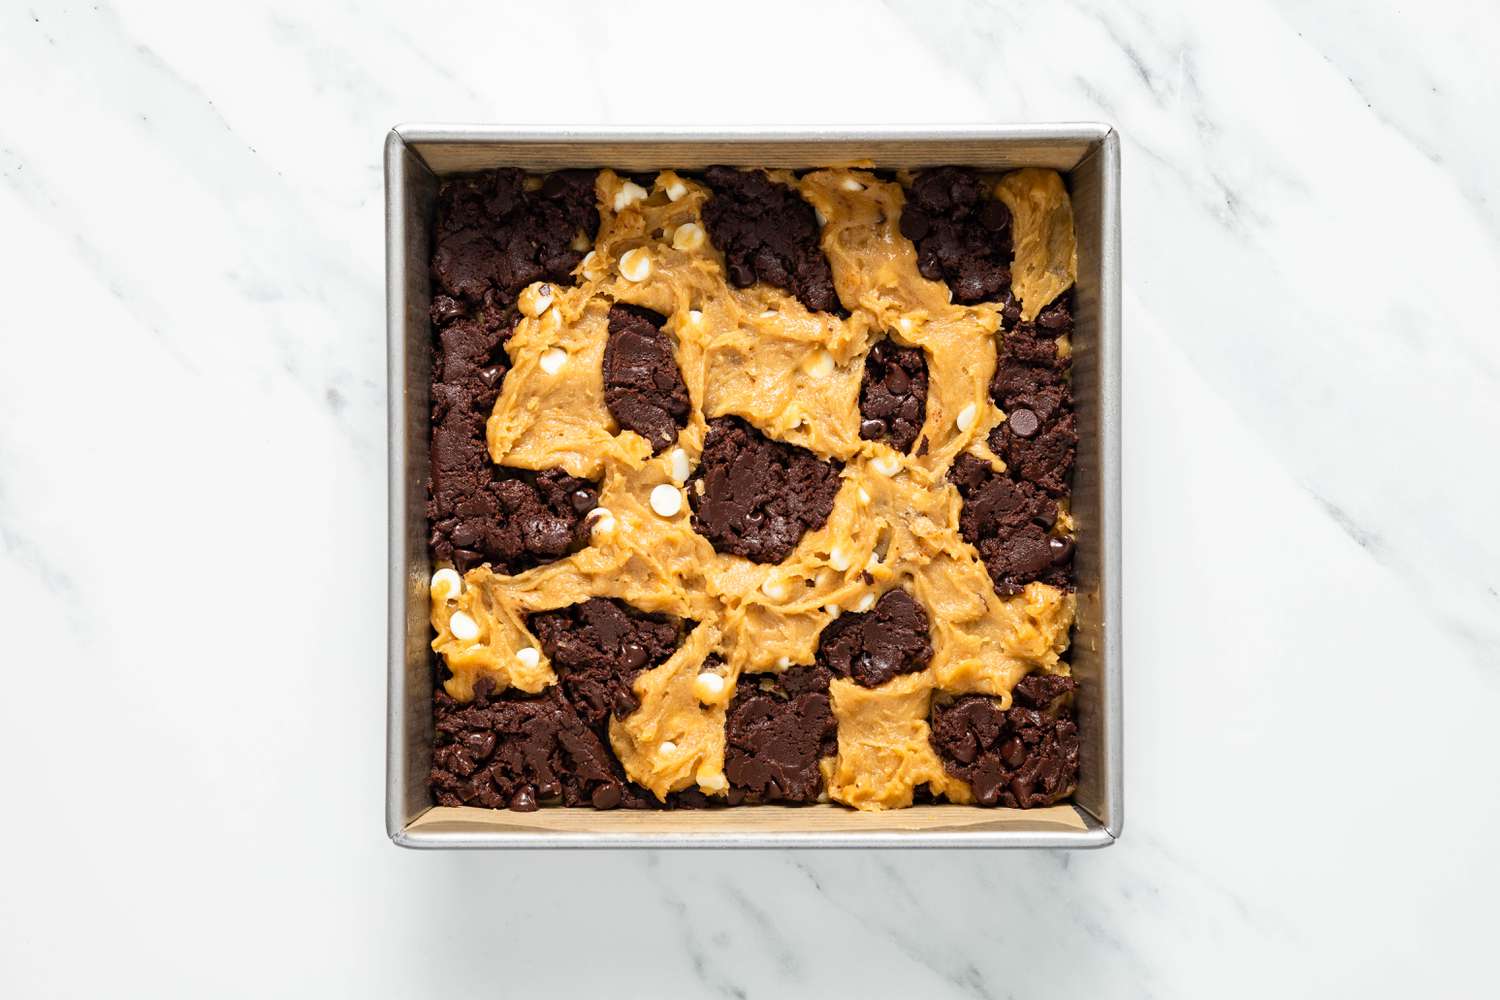
- Much of the heavy lifting in creating a marbled cross-section in the blondies is done by layering the batters in the pan. Essentially, you want to alternate dropping the batters in two layers to resemble a checkerboard. Doing this creates contrasting layers in the blondies that give a marbled appearance when sliced. Moreover, this also means you only have to worry about creating your swirls on the surface, rather than all the way through.
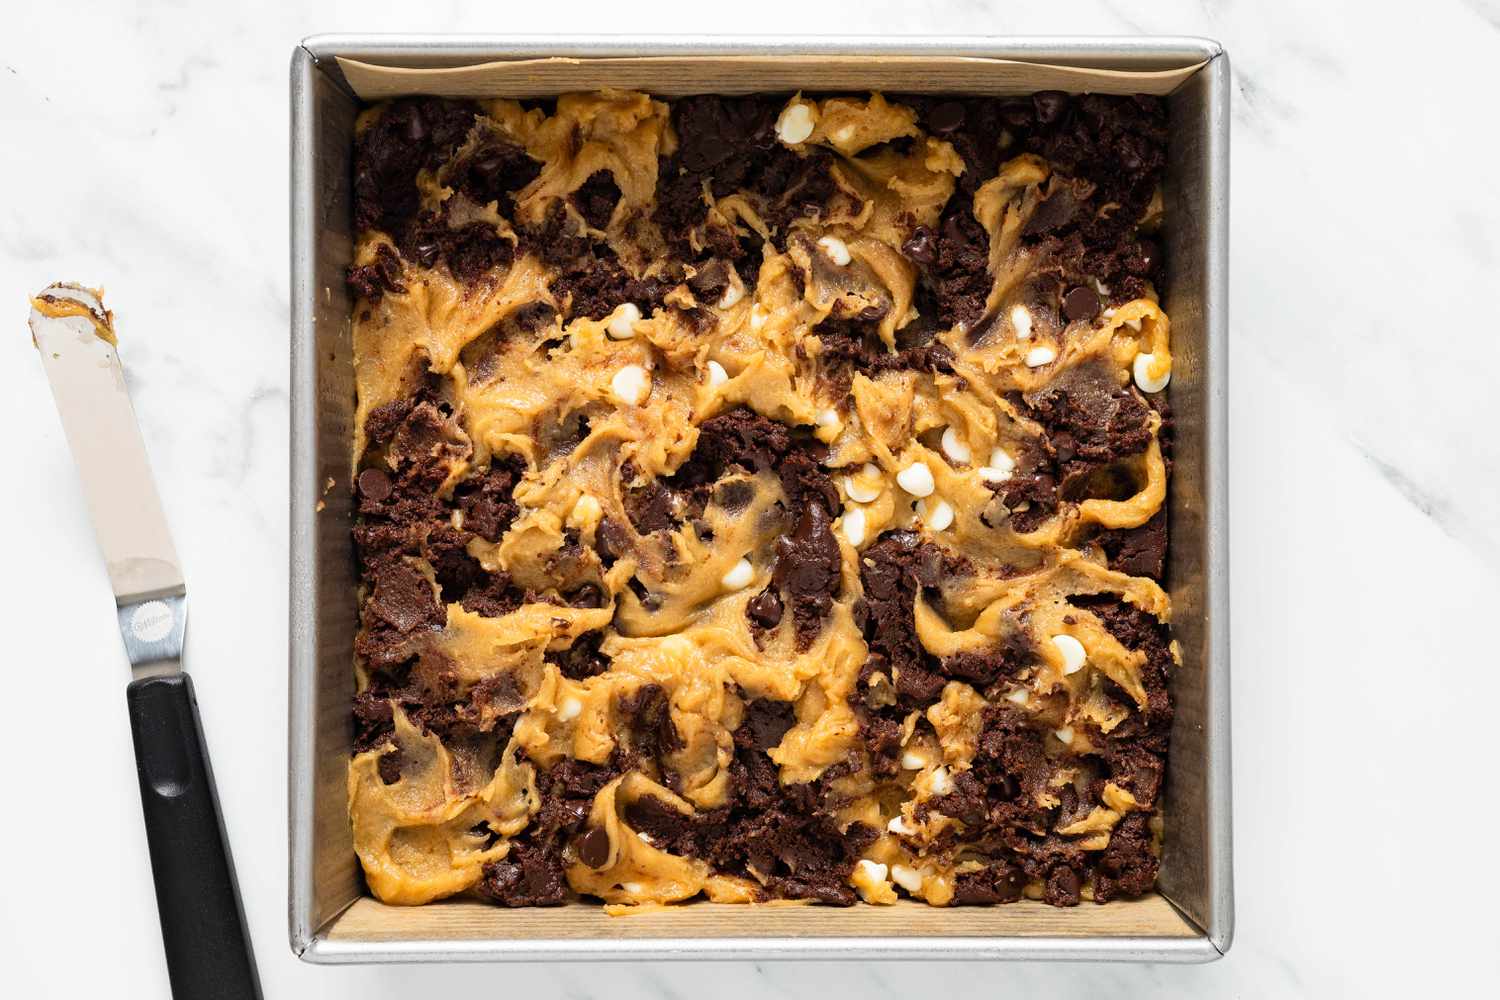
- When swirling the batters, I’ve found the most success with the side of a small offset spatula or the spine of a butter knife rather than a toothpick. These tools are better able to drag the thick batters into one another.
- Don’t worry about the texture on the surface that comes from swirling. It’ll mostly settle once baked.
Easy Variations
Want a little extra pizzazz? Consider this:
- Swap the white chocolate chips in the blondie batter for toasted nuts, such as pecans or walnuts.
- Swap in bittersweet chocolate for semi-sweet if you like a more intense, less sweet chocolate flavor.
- Swirl a few tablespoons of your favorite nut butter or Nutella in addition to the brownie batter for a flavor-packed bite.
Simply Recipes / Mark Beahm
How to Store Marble Blondies
These blondies are best the day of baking. Leftover blondies can be stored in an airtight container at room temperature for up to 4 days.
Marble blondies can be tightly wrapped in plastic wrap then placed in an airtight container or resealable plastic bag and frozen for up to 2 months. Thaw at room temperature.
Blondies and Brownies Galore
Marble Blondies
For the melted semi-sweet chocolate, you can either use 3 1/2 ounces semi-sweet chocolate bar or chocolate chips (1/2 cup). Note that melted bars yield a chocolate batter that’s slightly easier to work with as they are more fluid when melted.
Ingredients
-
Nonstick cooking spray, for greasing the pan
-
1 cup (226g) unsalted butter, melted and cooled
-
1 1/3 cups (270g) packed light brown sugar
-
1/3 cup (70g) granulated sugar
-
2 large eggs plus 1 large yolk, room temperature, divided
-
1 tablespoon vanilla extract
-
2 cups (270g) all-purpose flour
-
1 1/4 teaspoons kosher salt
-
1 teaspoon baking powder
-
3 1/2 ounces semi-sweet chocolate, melted and cooled
-
2 tablespoons Dutch-process cocoa powder
-
1/4 teaspoon espresso powder, optional
-
1/2 cup white chocolate chips
-
1/2 cup semi-sweet chocolate chips
Method
-
Preheat the oven and prepare the pan:
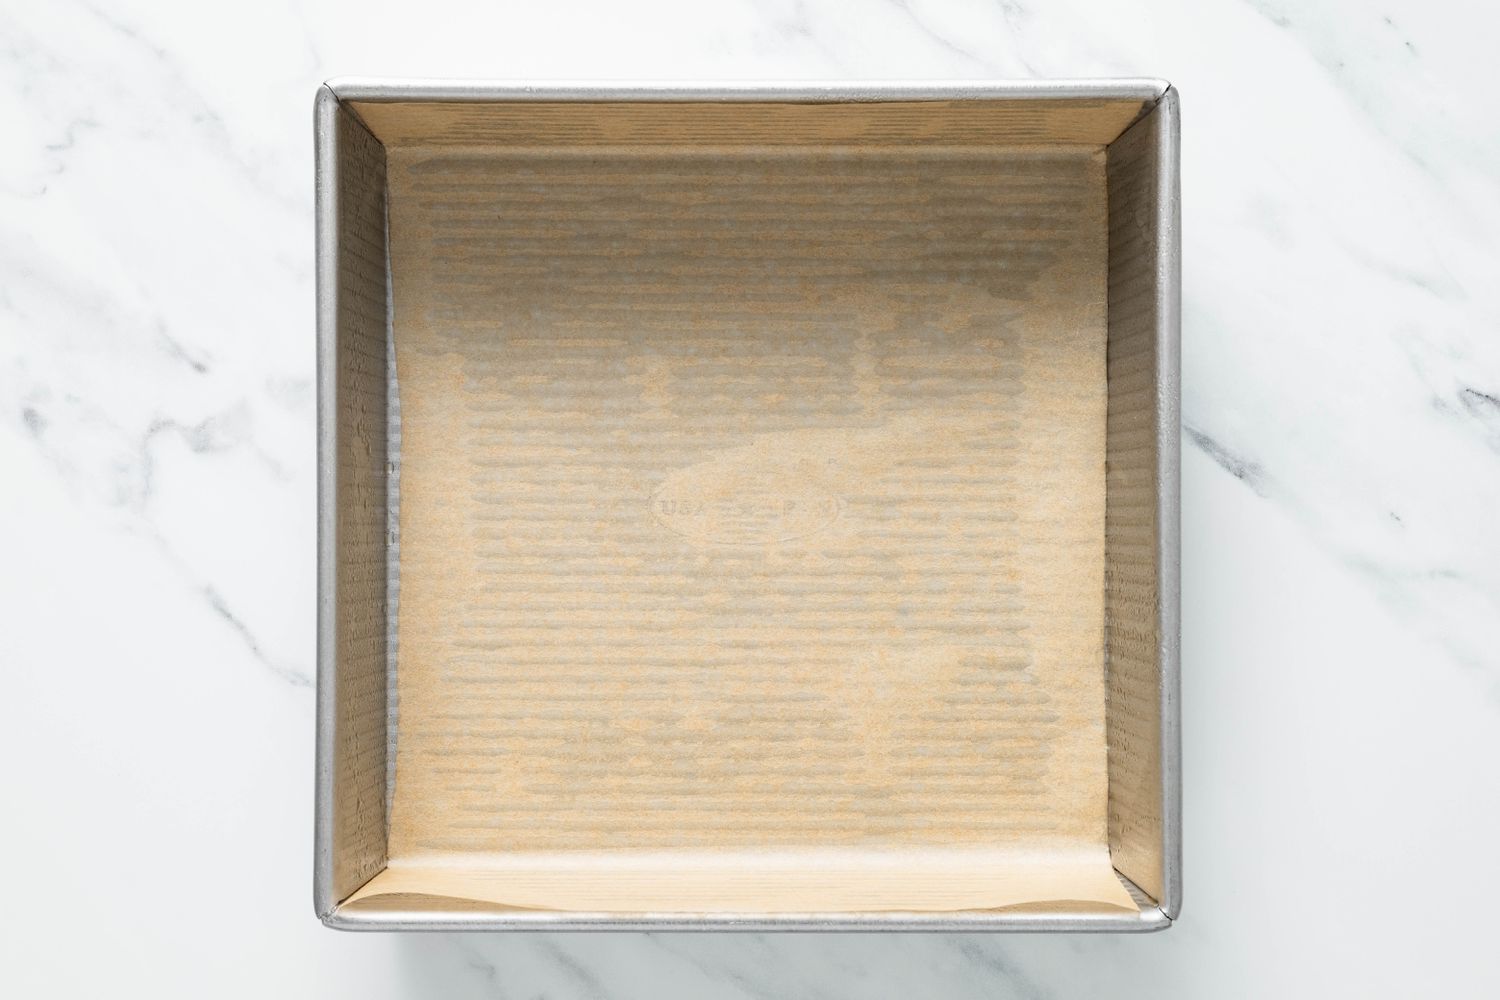
Preheat the oven to 350°F with a rack set in the middle. Lightly spray a 9-inch square baking pan with nonstick cooking spray and line with a sheet of parchment that completely covers the bottom with a slight overhang on two sides. Lightly spray the pan once more, greasing the parchment and sides.
![Parchment paper lined and sprayed square baking pan for marble brownies recipe]()
Simply Recipes / Mark Beahm
-
Whisk together the wet ingredients:
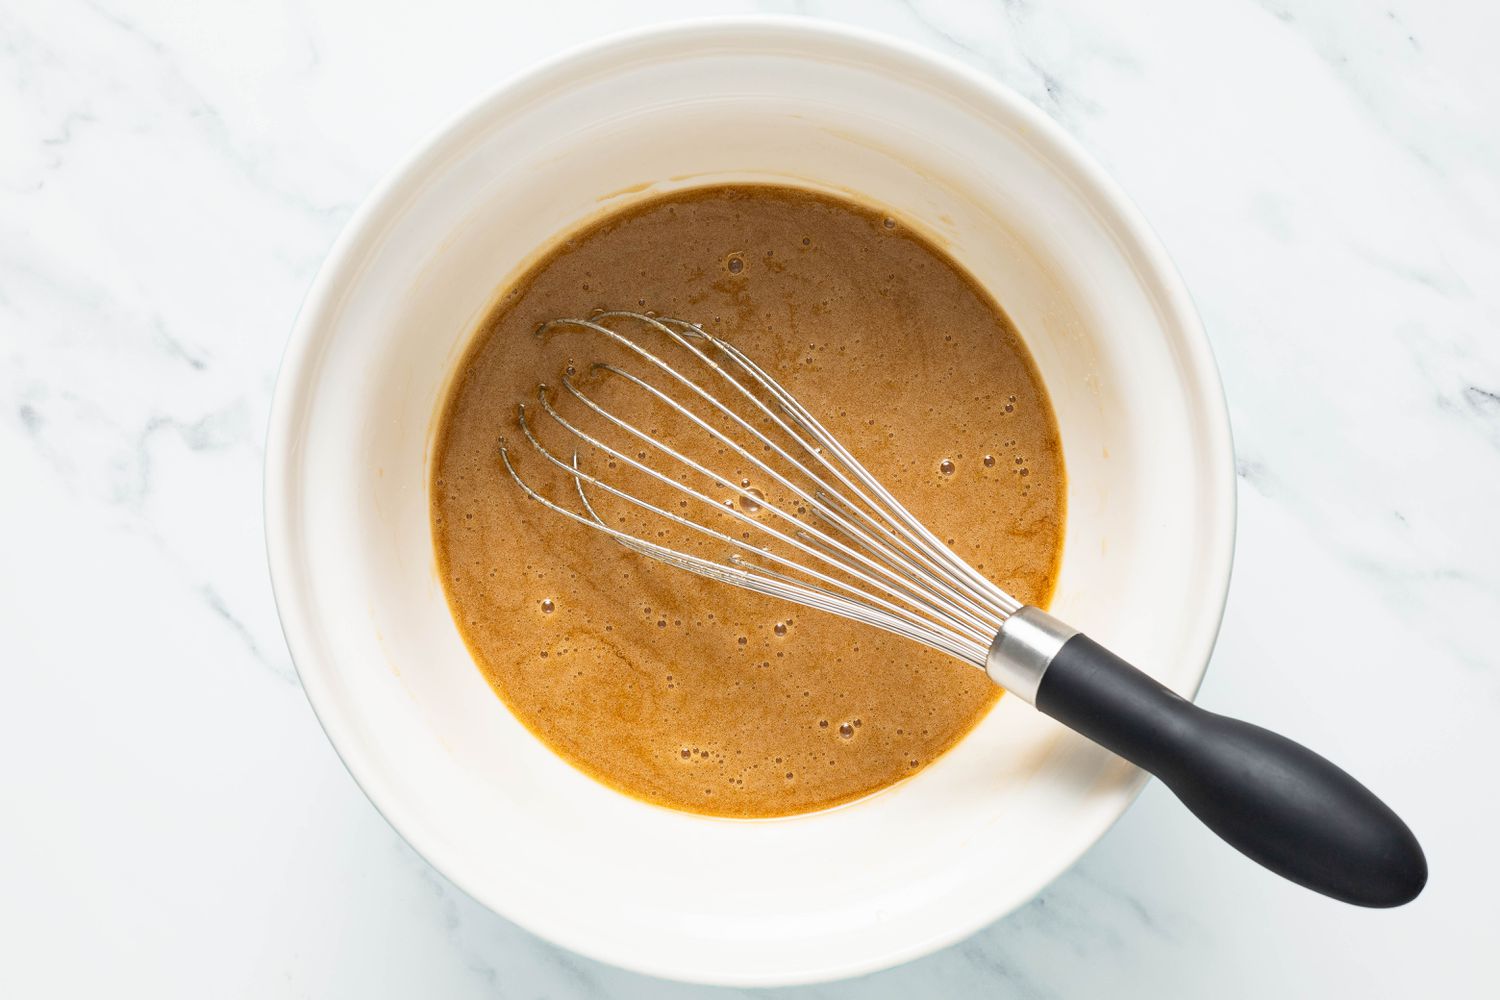
In a large bowl, whisk the melted butter, brown sugar, granulated sugar, 2 eggs, and vanilla until well combined with no lumps from the brown sugar, lightened in color, and glossy and creamy looking, about 2 minutes.
![Bowl of wet ingredients whisked together for marble brownies recipe]()
Simply Recipes / Mark Beahm
-
Make the blondie batter:
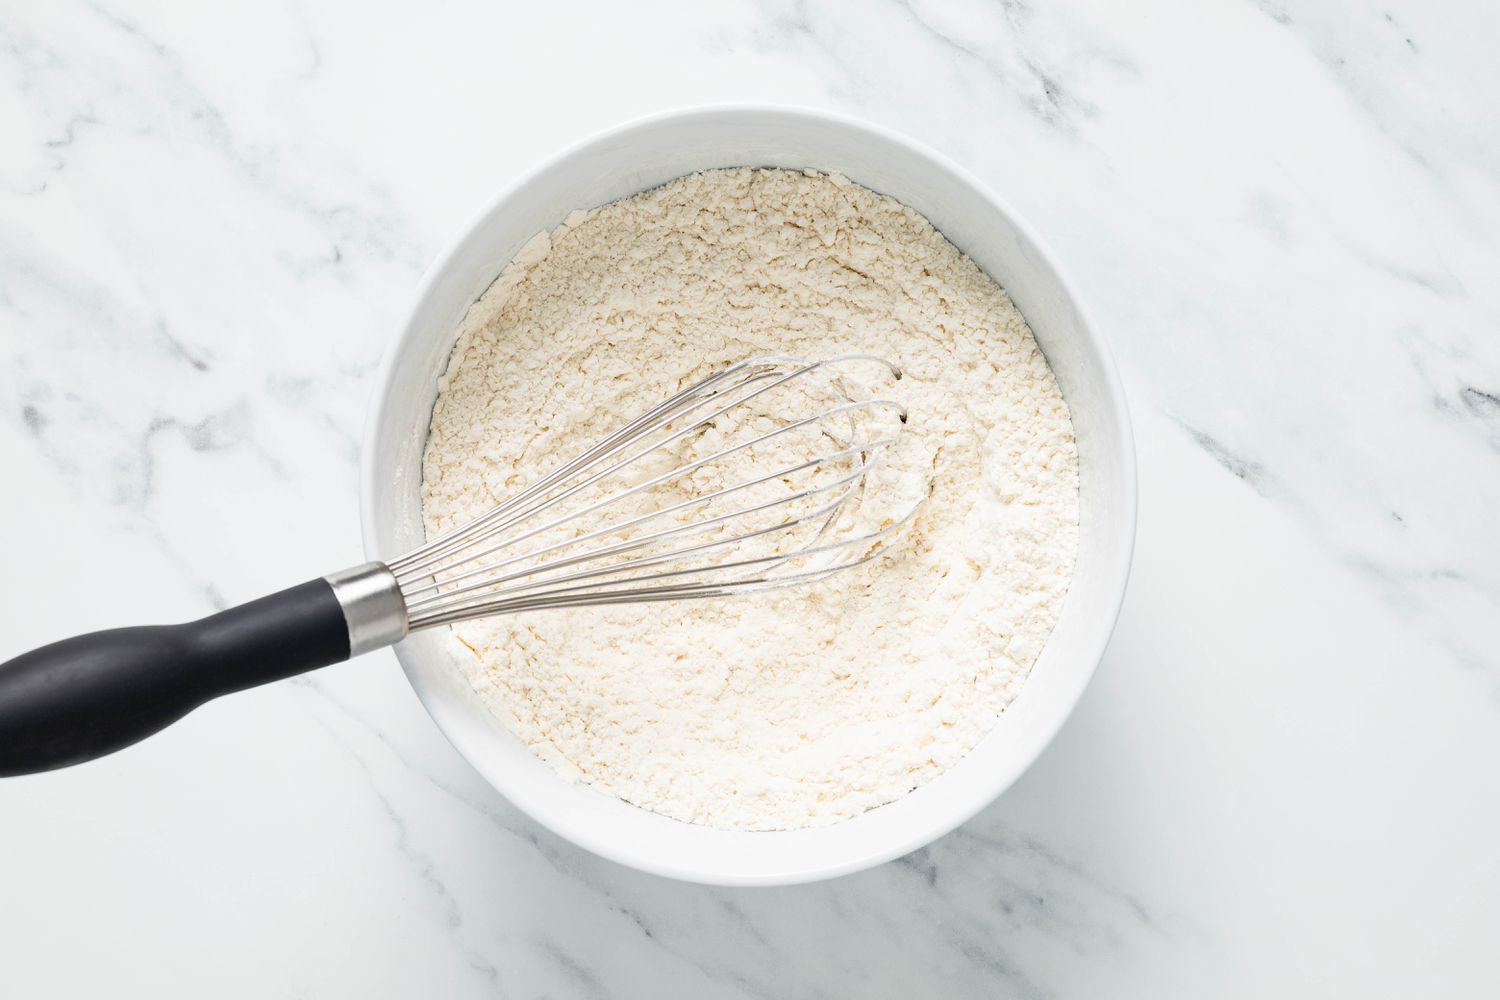
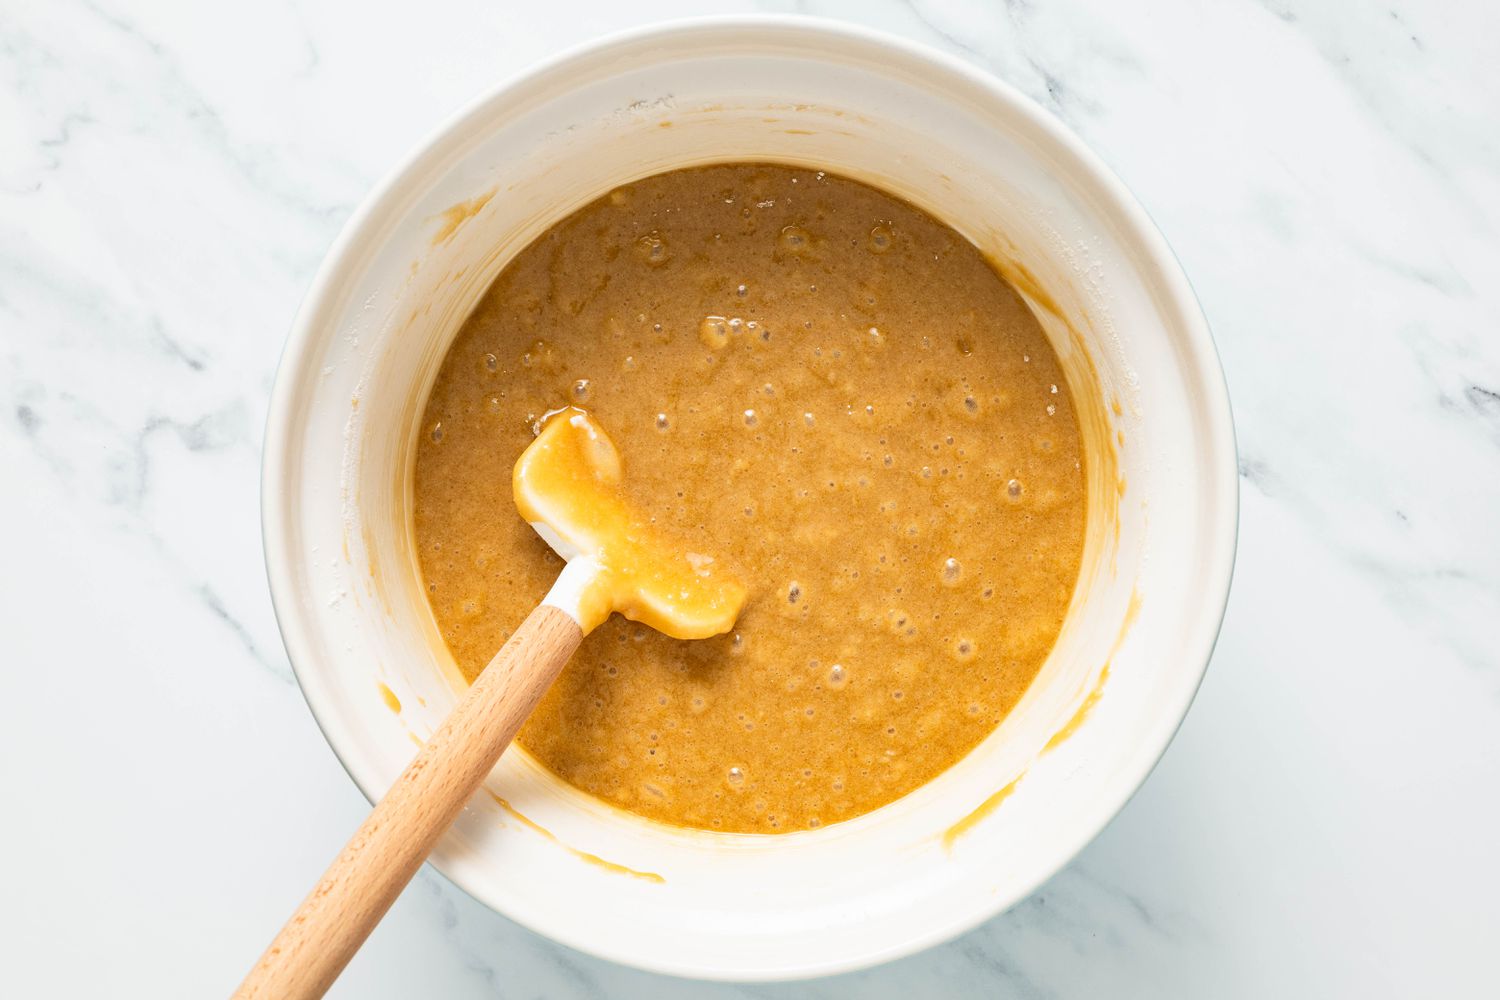
In another large bowl (it will be used again later), whisk the flour, salt, and baking powder to combine.
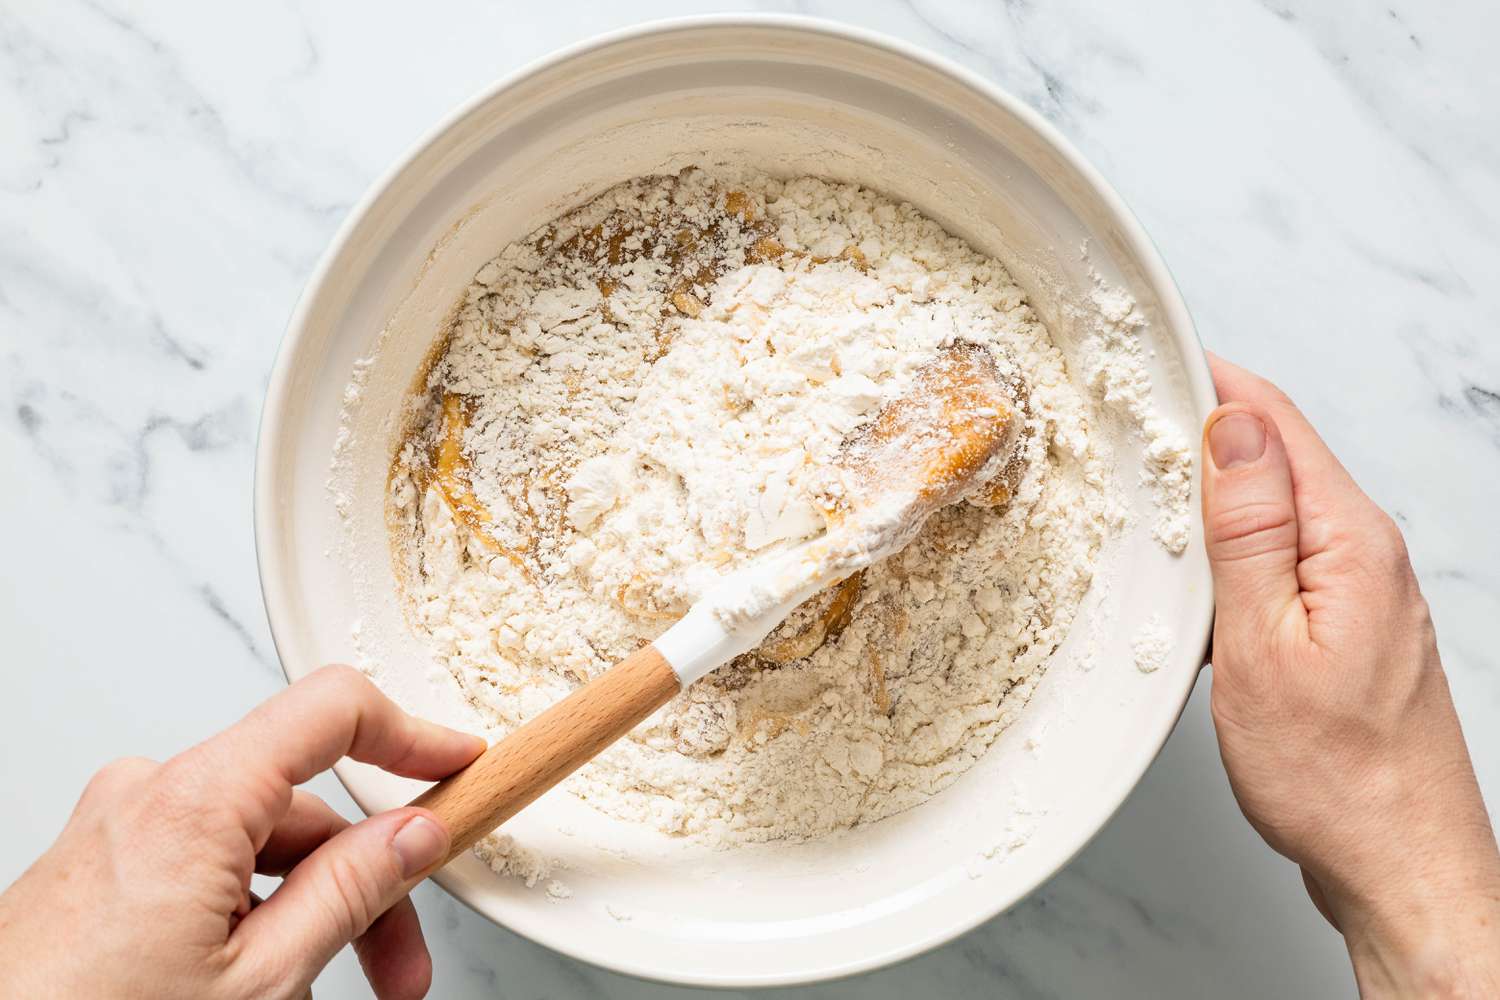
Use a rubber spatula to fold the flour mixture into the butter mixture until just combined with no dry streaks remaining.
![Bowl of dry ingredients whisked together for marble brownies recipe]()
Simply Recipes / Mark Beahm
![Dry ingredients folded into the wet ingredients using a rubber spatula for marble brownies recipe]()
Simply Recipes / Mark Beahm
![Blondie batter in a bowl with a rubber spatula for marble brownies recipe]()
Simply Recipes / Mark Beahm
-
Make the brownie batter:
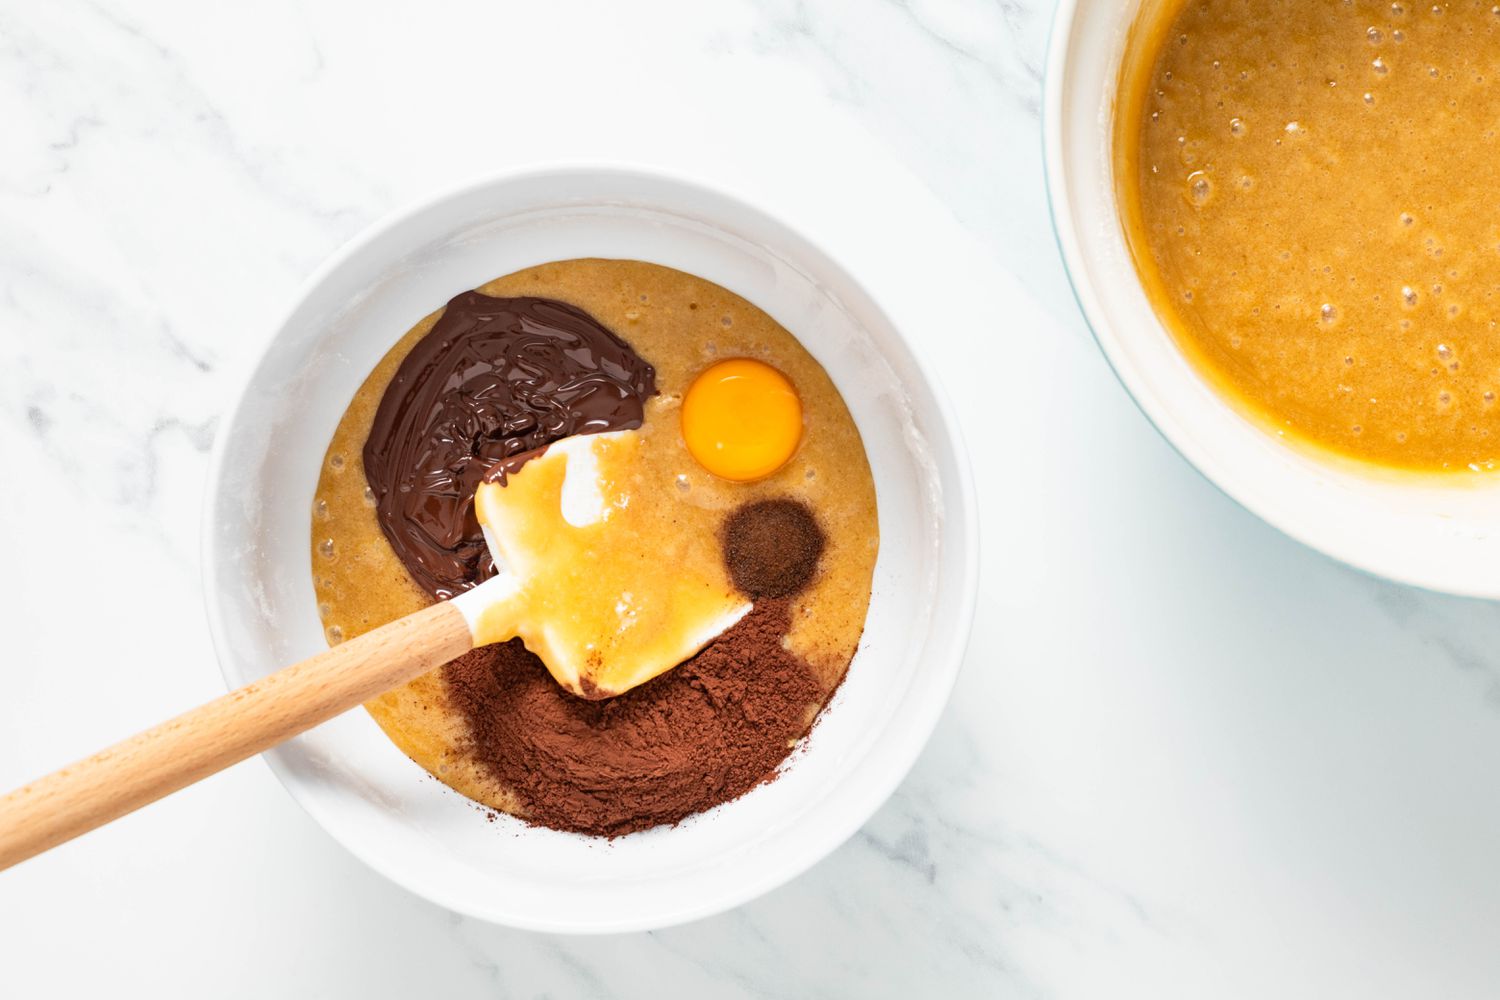
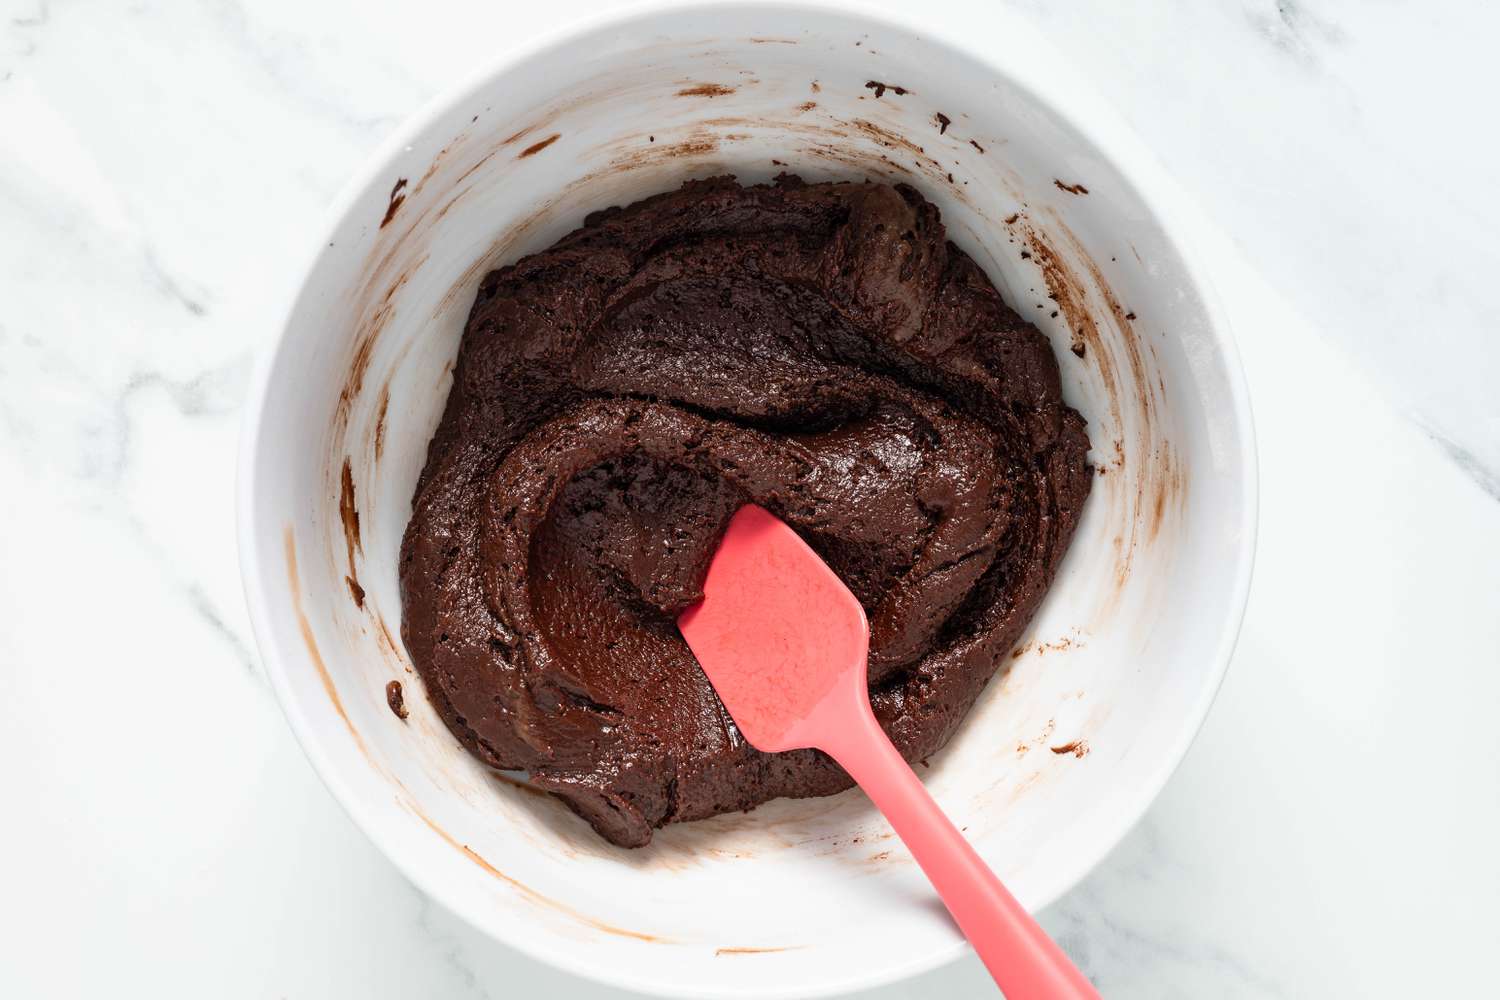
Transfer 1/3 of the blondie batter (about 1 rounded cup) back to the empty bowl that had the flour mixture. Add the melted chocolate, cocoa powder, espresso powder (if using), and remaining egg yolk and fold together until just combined.
![Bowl with some of the blondie batter, an egg yolk, melted chocolate, and Dutch processed cocoa powder next to the bowl with the blondie batter for marble brownies recipe]()
Simply Recipes / Mark Beahm
![Brownie batter mixed together in a bowl using a rubber spatula]()
Simply Recipes / Mark Beahm
-
Add the chocolate chips:
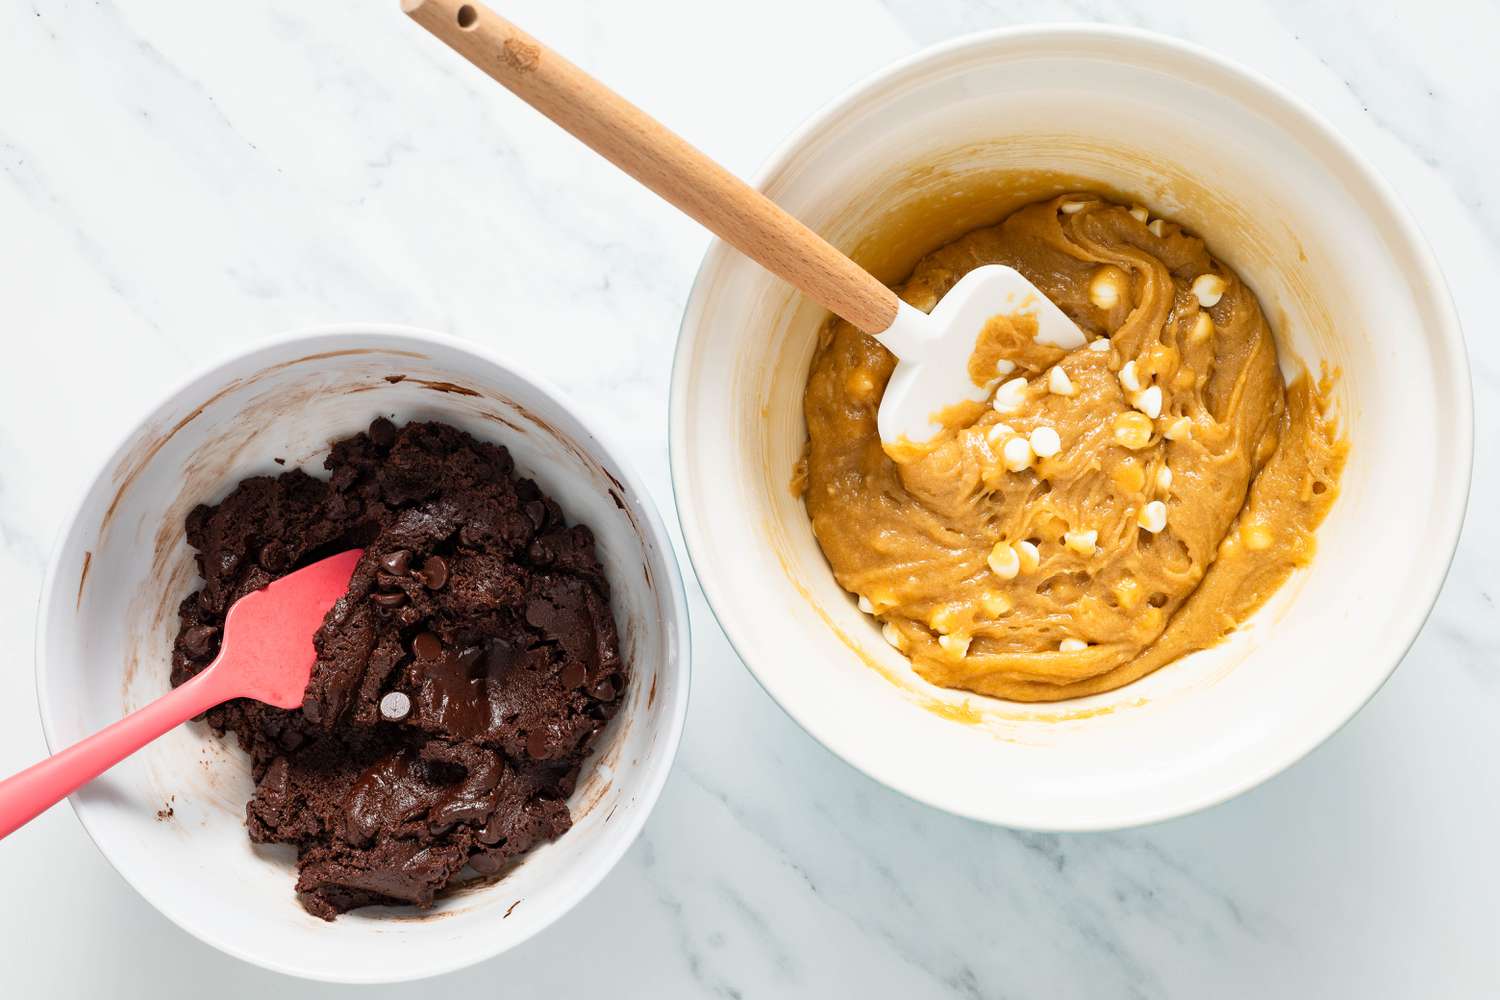
Using two separate rubber spatulas so as to not cross batters, fold the white chocolate chips into the blondie batter and the semi-sweet chocolate chips into the brownie batter until evenly distributed.
![Semi-sweet chocolate chips added to bowl of brownie batter, and white chocolate chips added to bowl with blondie batter for marble brownies recipe]()
Simply Recipes / Mark Beahm
-
Drop the batters in the pan:
In the prepared square baking pan, marble the batters.
For the first layer of batter, use about half of the blondie batter and half the brownie batter to drop alternating rounded tablespoons of the blondie batter and level tablespoons of the brownie batter across the bottom of the pan. Use a small offset spatula or the back of a spoon to gently spread the blondie batter and gently tap the brownie batter with your fingertips to create as even a layer as possible. The layer of batter should loosely resemble a checkerboard.
For the second layer, using the rest of each batter, drop rounded tablespoons of the blondie batter directly on top of the chocolate batter in the pan and level tablespoons of the brownie batter directly on top of the blondie batter in the pan. Repeat leveling out the batters with an offset spatula/spoon and your fingertips.
![First layer of brownie and blondie mixtures added to lined square baking pan to create the marble brownies]()
Simply Recipes / Mark Beahm
![Second layer of brownie and blondie batters added to lined square baking pan to create the marble brownies]()
Simply Recipes / Mark Beahm
-
Marble the batters:
Using the side of a small offset spatula or the spine of a butter knife or a thick skewer, marble the batters. Carefully and thoughtfully use quick motions to drag and swirl the top layer of batters into one another.
Simple Tip!
I find it easier to drag the brownie batter through the blondie batter versus the other way around. Take care not to swirl too much to the point of being too blended as the batters do bake into each other slightly and swirling too much can muddy up their appearance.
There will be some texture on the surface from swirling and it likely won’t smooth/settle back out naturally. That’s okay. It will mostly settle once baked.
![An offset spatula used to create swirls in the marble brownies]()
Simply Recipes / Mark Beahm
-
Bake the blondies:
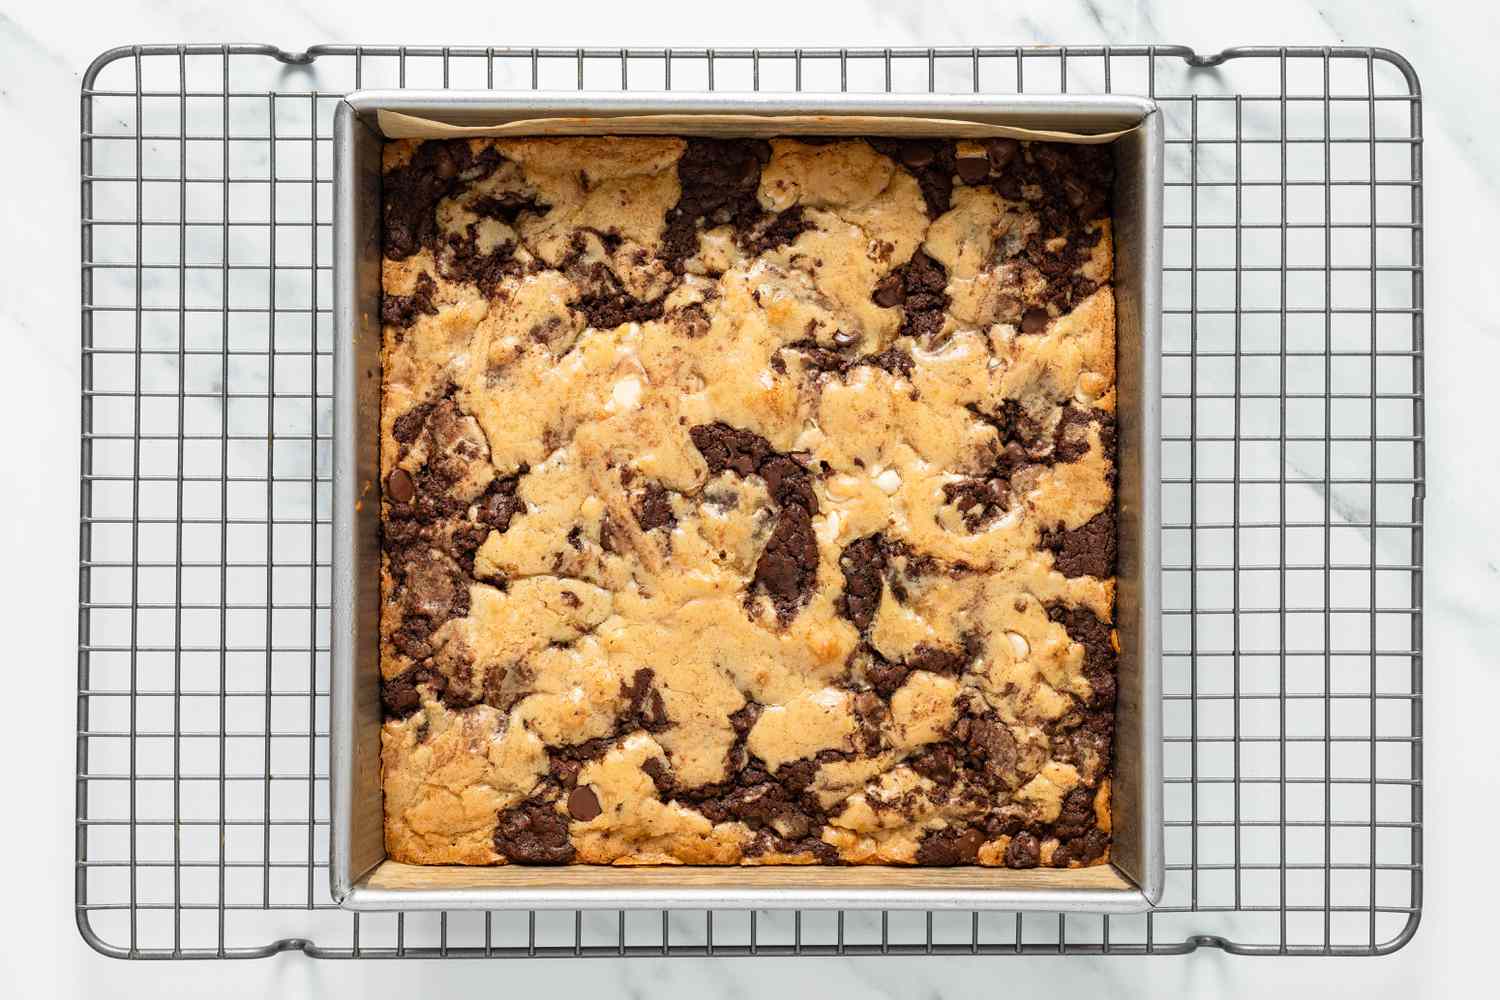
Bake the blondies on the middle rack of the oven until risen, set, and a toothpick comes out with clean or with moist crumbs (not wet batter), 30 to 40 minutes.
![Baked marble brownies in the lined square baking pan cooling on a wire rack]()
Simply Recipes / Mark Beahm
-
Cool and slice:
Let the blondies cool slightly in their pan set over a wire rack for 15 minutes. Lift the blondies out of their pan using the parchment overhang and transfer to the wire rack to finish cooling. Cool the blondies completely before slicing, at least 1 hour.
Use a sharp knife to slice the blondies into 16 squares and serve.
Leftover blondies can be stored in an airtight container at room temperature for up to 4 days.
Love the recipe? Leave us stars and a comment below!
![Close-up of a slice of marble brownie missing a bite surrounded by more, unbitten slices, all on a plate]()
Simply Recipes / Mark Beahm
| Nutrition Facts (per serving) | |
|---|---|
| 346 | Calories |
| 18g | Fat |
| 45g | Carbs |
| 4g | Protein |
| Nutrition Facts | |
|---|---|
| Servings: 16 | |
| Amount per serving | |
| Calories | 346 |
| % Daily Value* | |
| Total Fat 18g | 23% |
| Saturated Fat 10g | 52% |
| Cholesterol 61mg | 20% |
| Sodium 153mg | 7% |
| Total Carbohydrate 45g | 16% |
| Dietary Fiber 1g | 5% |
| Total Sugars 30g | |
| Protein 4g | |
| Vitamin C 0mg | 0% |
| Calcium 56mg | 4% |
| Iron 2mg | 10% |
| Potassium 114mg | 2% |
| *The % Daily Value (DV) tells you how much a nutrient in a food serving contributes to a daily diet. 2,000 calories a day is used for general nutrition advice. | |

